How to Upload a Custom Map in the Locatify Builder?
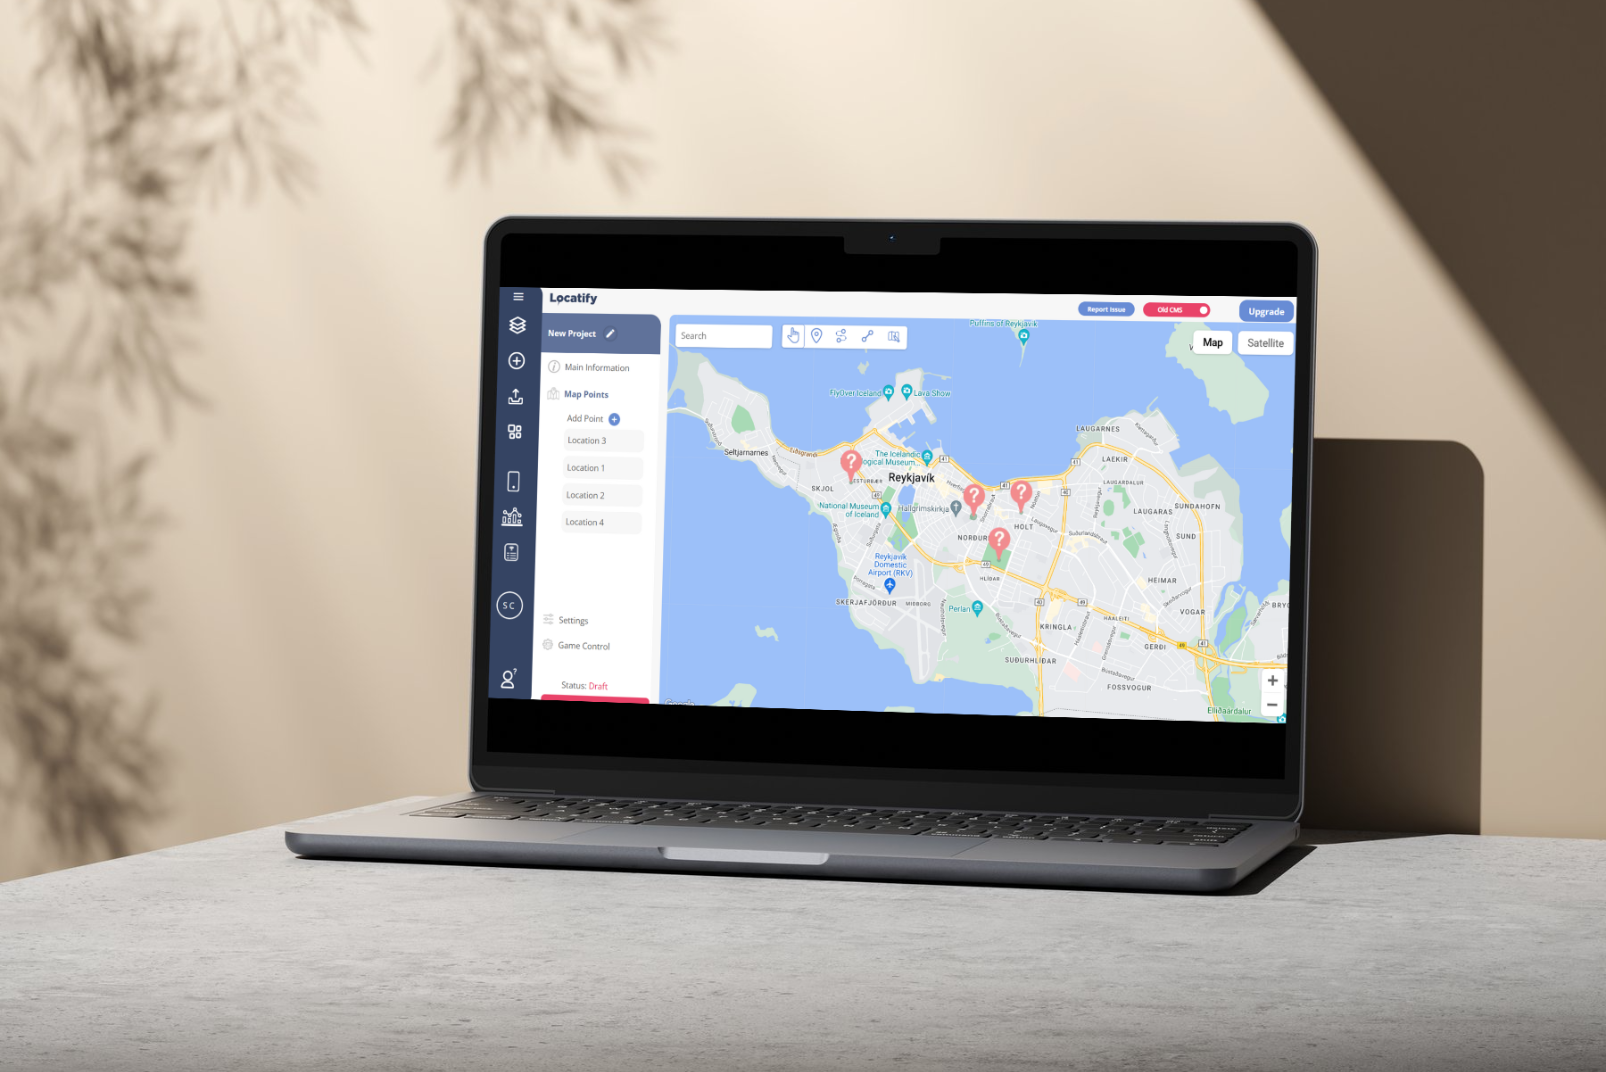
With our new Locatify Builder, it’s easier than ever to customize your maps. Simply upload your map, overlay it onto the Locatify Builder map, and adjust as needed. You can zoom in and out, stretch the map to fit, and even adjust the opacity with our user-friendly tools.
Ensure your custom map maintains the same proportions as the original map. Once uploaded, it will seamlessly overlay onto the existing maps in both the Builder and the app. Remember, keep the covered area to no more than a square kilometer to ensure smooth publishing and downloading.
For optimal clarity, aim for a pixel resolution of around 4000 x 4000 pixels for your JPEG custom map image. This resolution allows users to zoom in further for detailed exploration. Additionally, note that as users zoom in on the custom map, the underlying Google or Apple map will gradually become visible, providing context beyond the customized area. Conversely, zooming out will reveal the surrounding regular map while still retaining visibility of the custom map. With these simple steps, you can enhance your app’s experience with personalized cartography.
Finally, after overlaying your custom map, you can add location or treasure points just as you would on the regular map. This feature allows you to organize unique customized treasure hunts or tours. Whether you’re creating an adventurous treasure hunt or a guided tour of historical landmarks, our Locatify Builder empowers you to craft engaging and personalized experiences for your users. So go ahead, unleash your creativity and transform your maps into captivating adventures!
Check our video tutorial in our Help Center or in our Youtube channel: Upload a Custom Map using the Locatify Builder


