
Creating Style Sheets is an easy and flexible way to define how your content is going to show up in the smartphone/tablet app. Currently, this option is available for Map Markers (Commercial, Event or Info pins you can add in your app).
1) To start off go to the “Map Markers” page through the main menu:
2) Now we can see the tools with which to add and edit the Map Markers we wish to put in out app. Amongst them, the “Style Sheets” button:
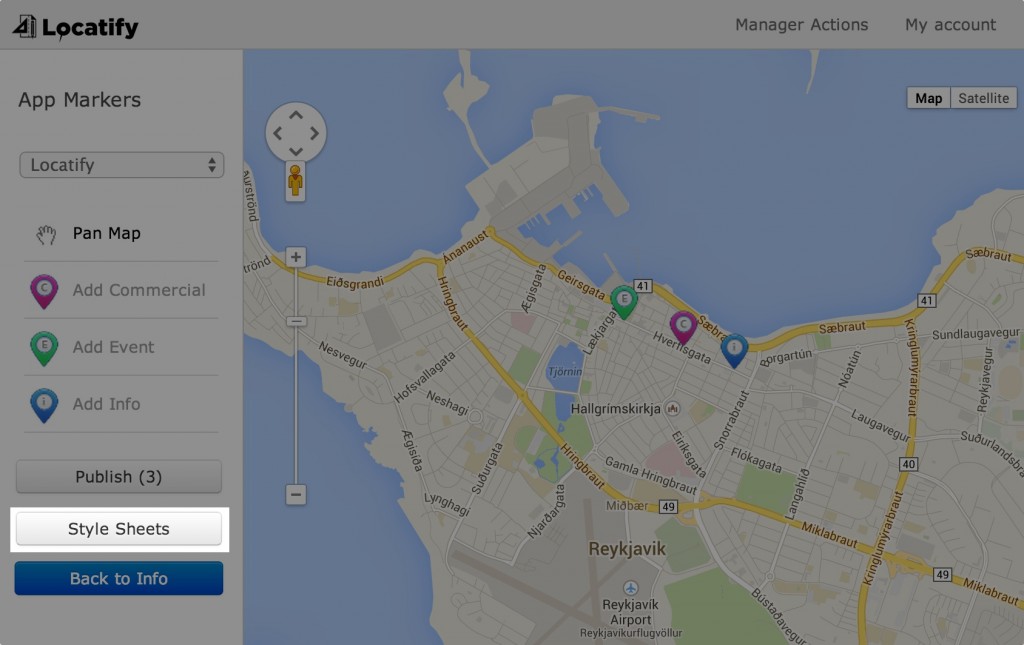
3) Clicking Style Sheets will bring up the interface to create and edit them:
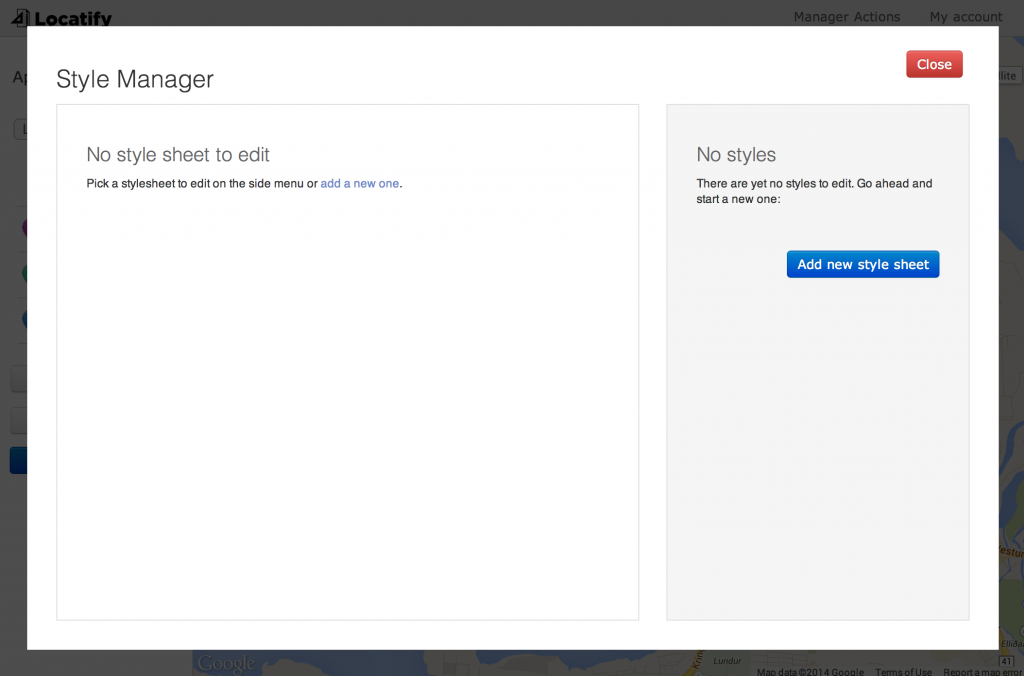
4) Let’s go ahead and create our first Style Sheet by clicking one of the indicative buttons:
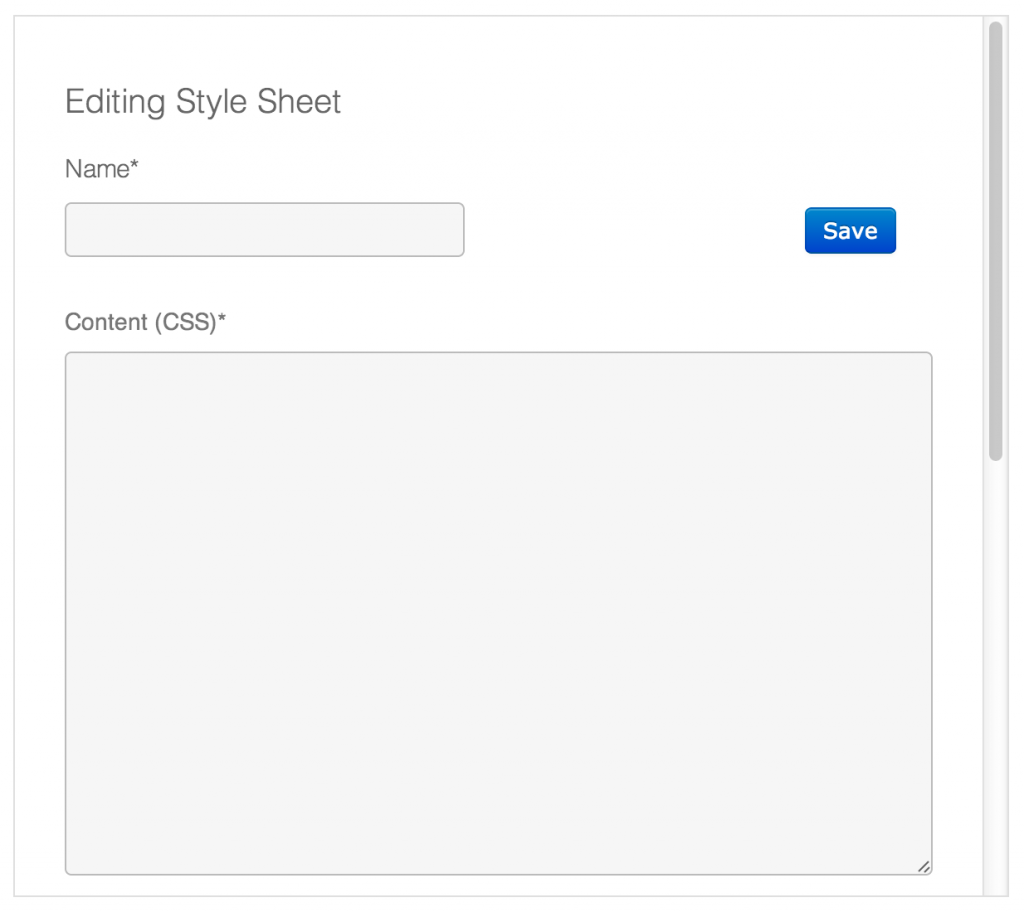
The * signs mean that both the Name and Content fields are required. Type in a name for your Style Sheet (it’s only going to be used for easy identification) and some CSS rules. Note: If you don’t know what CSS is, please contact a web developer or give it a shot here.
5) After some CSS was added to your Style Sheet entry, scroll down to see the Usage Example field:
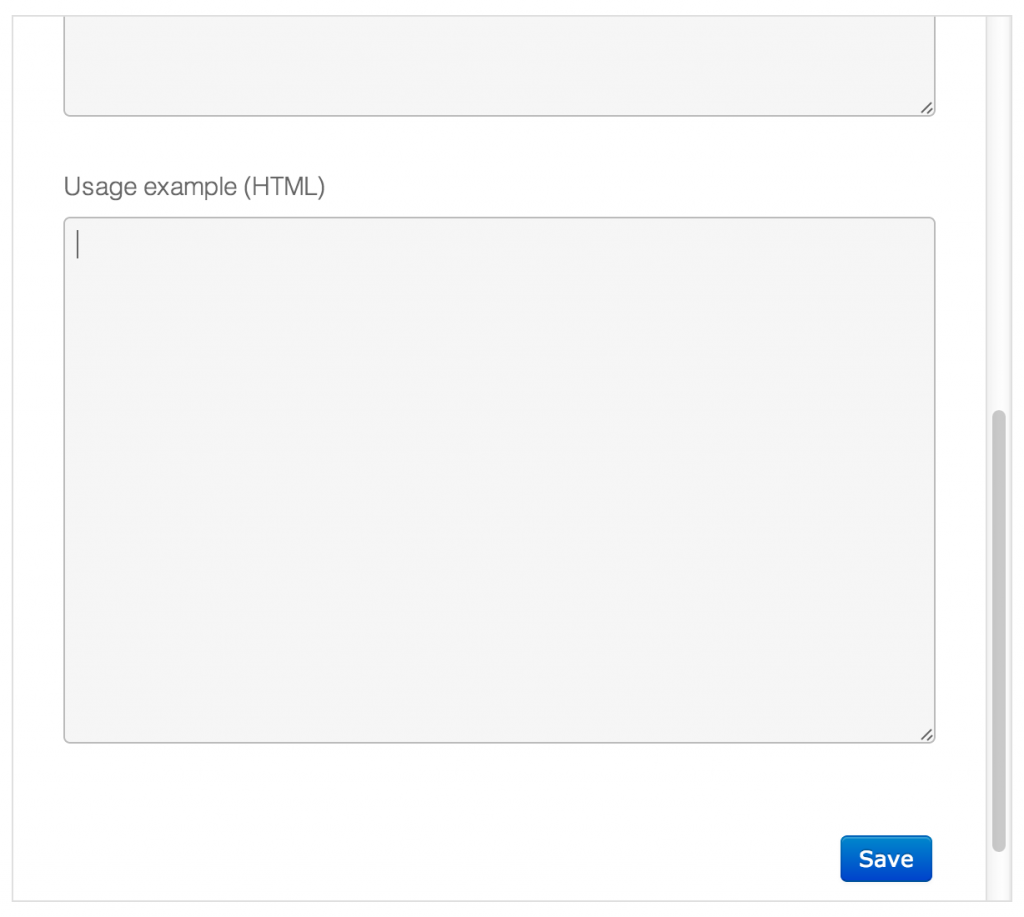
The Usage Example is not required, but it will help your users know how to use this Style Sheet properly, and it could even work as a default template, since there will be always a button called “Insert Usage Content” wherever a user can assign a Style Sheet to something (i.e. a Map Marker).
Here is an example of what your Style Sheet and Usage Example could look like:

6) Now that you have created the first version of your Style Sheet, press “Save”. This will add it to the Style Sheet list:

Note that there is a + sign after the Style Sheet name. This means that you can edit and remove this one. As a Publisher admin, you have total control over all the Style Sheets created by you and the other users in the same Publisher as you. Meanwhile, the regular users are also going to be able to edit and remove Style Sheets, but only the ones they have created. They will also be able to visualize the ones they have not, but will not be allowed to change them.
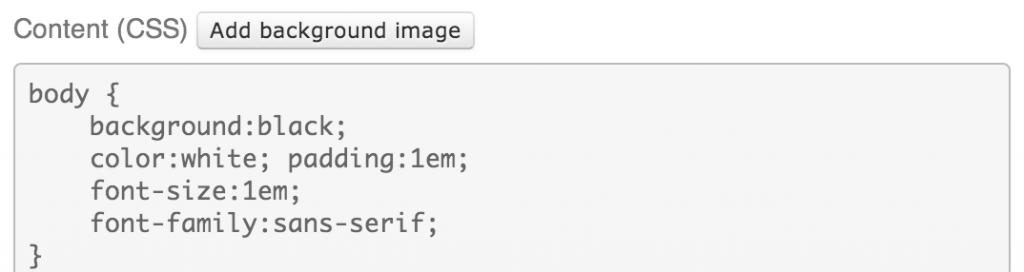
7) An important detail about Style Sheets is that you will have to save it before being able to add images to it. So now that you already have a template, open it again by clicking its name and notice that there is a new button over the Content field:
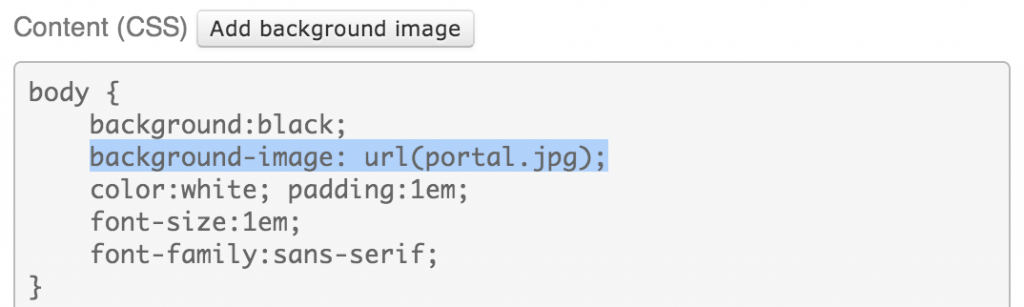
The “Add background image” button opens up the Media Manager, through which you can upload images and insert them in the CSS as background images. This is what happens after you click “Insert”, in the Media Manager:
8) The Style Sheet Manager allows you to add as many Style Sheets as you want. We recommend that you create as few as possible to make your users work more straight forward.